

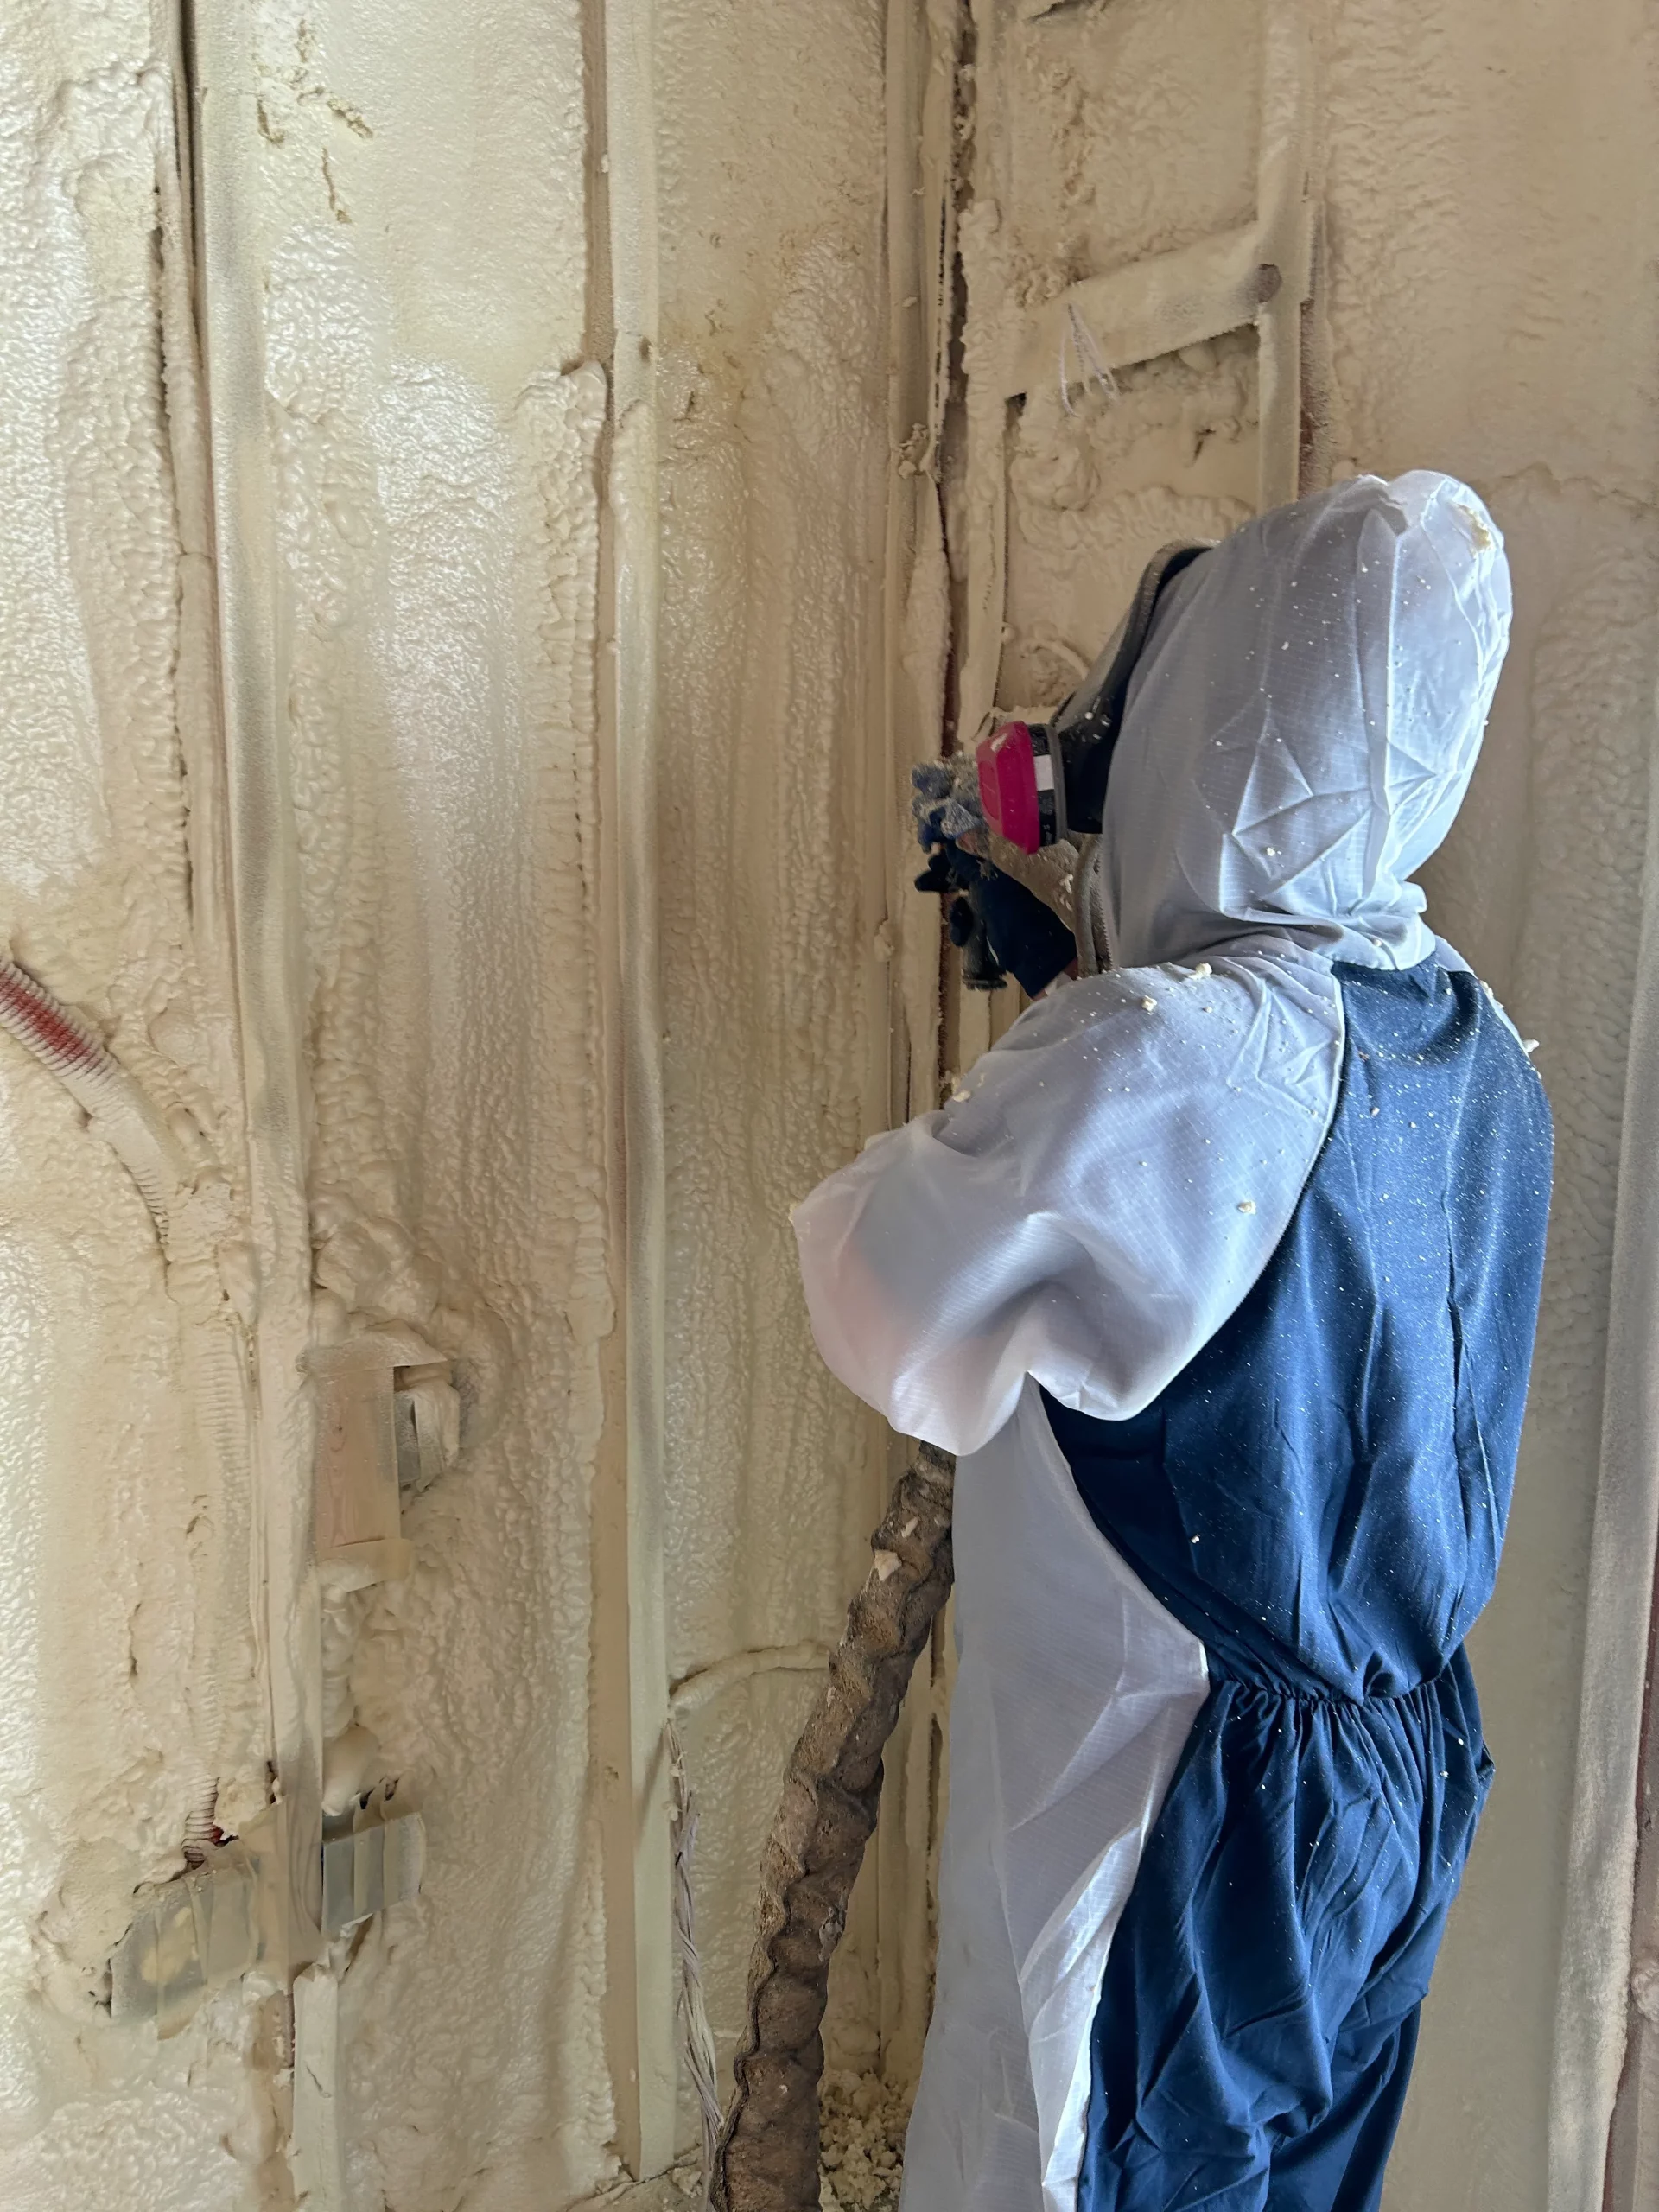
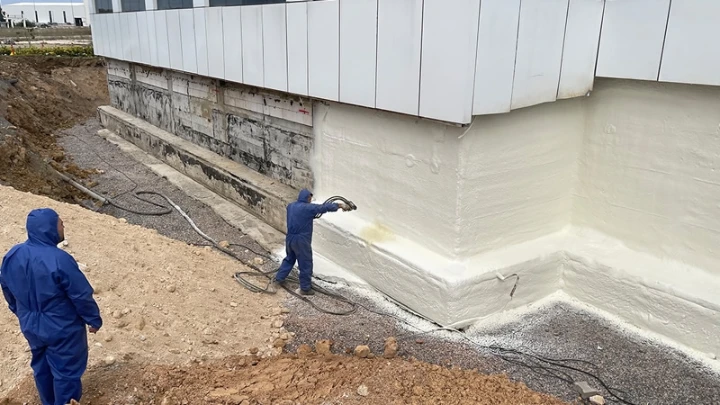
Professional spray foam insulation installation and DIY installation methods sit at opposite ends of the same trade-off: convenience and upfront simplicity versus coverage, control, and long-term performance. Professional crews use high-pressure, heated, two-part systems that fill entire wall cavities, attics, and crawl spaces with consistent density and complete air sealing. DIY methods, including one-part cans and low-pressure two-part kits, suit small, exposed, and accessible areas such as rim joists, penetrations, and gaps around windows or pipes. The right choice depends on project size, surface access, safety preparation, and how much rework risk you can accept. Homeowners handling minor air sealing can manage carefully scoped DIY work, while whole-home insulation, enclosed walls, large attics, and any job that demands verified cured-foam quality call for our professional teams. Below, we break down equipment, safety, performance, and outcomes so you can match the method to the job.
Spray polyurethane foam is created when two chemical sides mix at the gun: Side A contains reactive isocyanates and Side B contains a polyol blend with catalysts, flame retardants, blowing agents, and surfactants. Once combined, the liquid expands up to 30 to 60 times its volume and hardens into insulation that blocks all three forms of heat transfer, conduction, radiation, and convection, as described in Wikipedia’s overview of spray foam.
The three installation methods differ mainly in pressure, temperature, and mixing quality:
| Method | Equipment | Best Applications | Coverage Speed | Mixing Control |
|---|---|---|---|---|
| One-part can | Aerosol can, moisture cured | Small gaps, penetrations, window and door returns | Seconds per bead | Pre-mixed, no ratio control |
| Low-pressure two-part kit | Portable tanks and hose gun | Rim joists, small sheds, box sills, accessible repairs | Small areas in hours | Fixed nozzle ratios, no heat |
| Professional high-pressure system | Heated, proportioned rig and drums | Whole attics, wall cavities, crawl spaces, new construction | Hundreds to thousands of board feet per day | Heated, pressure-proportioned, calibrated |
Heated, pressurized proportioning is what separates professional work from DIY methods. Heat keeps both sides at proper viscosity so they blend and cure fully, which is why temperature and area conditions must be carefully managed while the foam dries and cures. Without that control, curing becomes unpredictable and exposure risks rise, a point the EPA’s safer work practices guidance stresses for professionals and DIYers alike.
Foam chemistry only performs as well as the application behind it. Both open-cell and closed-cell products excel at air sealing because the expanding liquid fills the gaps, cracks, and voids responsible for uncontrolled air leakage, something fiberglass and cellulose cannot match, according to the DOE Building America spray foam guide. But each product has limits that a trained applicator respects and a DIY kit cannot easily manage.
| Property | Open-Cell Foam | Closed-Cell Foam |
|---|---|---|
| Density | About 0.5 lb per cubic foot | About 2.0 lb per cubic foot |
| R-value per inch | Roughly R-3.6 | Roughly R-6 |
| Expansion | Up to 150 times liquid volume | About 35 to 50 times |
| Lift thickness per pass | Up to 10 inches in one pass | Limited to 2 to 3 inches per pass |
| Vapor behavior | Vapor permeable, can hold water | Vapor retarder, does not absorb water |
| Best uses | Wall cavities in cold climates, sound control | Below-grade walls, crawl spaces, roofs, band joists |
Two details carry real consequences for DIY users. First, closed-cell must be built in 2 to 3 inch lifts per pass, so chasing a thick target with a handheld kit invites bad curing. Second, product selection is climate and application specific: open-cell is rated not acceptable below grade, while closed-cell is preferred against foundation walls. Wrong-product mistakes like these are exactly what professional specification prevents.
Spray foam’s key ingredient, isocyanate, is also its biggest liability. OSHA’s chemical hazards guidance for weather insulating and sealing identifies isocyanates as the leading attributable cause of work-related asthma and notes that exposure causes skin and membrane irritation, chest tightness, and breathing difficulty, with sensitization possible after repeated contact. Once sensitized, even tiny future exposures can trigger attacks.
The EPA’s SPF safety hub warns that vapors, aerosols, and dust during and after installation can cause asthma, sensitization, lung damage, respiratory problems, and skin and eye irritation. Its guidance for homeowners is direct: DIYers using low-pressure kits or one-part cans should educate themselves on the same safe work practices professionals use, review the safety data sheet, wear proper respirators and chemical-resistant gloves and clothing, isolate and ventilate the work area, and consider whether a trained professional should do the job instead. People with asthma, respiratory allergies, or prior isocyanate sensitivity may want to consider alternatives entirely.
Professional installation wraps all of this into standard procedure. Occupants vacate during application, crews isolate the site, manage curing temperatures, clean before re-entry, and give clear re-entry guidance agreed on before the job starts. A DIYer has to build that entire system alone, in their own home, with no second set of hands.
Reasonable DIY uses include:
DIY methods fail predictably in these situations:
Removing cured foam is slow, messy work, so prevention matters. The failures we are called to fix most often trace back to:
Each of these can turn a weekend project into a full removal-and-replacement contract, which erases the savings that motivated the DIY approach in the first place.
The EPA recommends homeowners verify training, confirm insurance and licensing, check references, and review a contractor jobsite checklist before work begins. We encourage the same diligence when you compare installers anywhere in the Inland Northwest. For additional guidance, review our questions to ask a spray foam contractor before hiring.
Clear, specific answers signal a crew that treats chemistry and building science as seriously as salesmanship.
| Audience | Recommended Approach | Key Notes |
|---|---|---|
| Handy homeowner, small gaps and rim joists | One-part cans or low-pressure kit | Full PPE, ventilation, read the safety data sheet first |
| Owner of a shed, shop, or detached garage | Low-pressure kit, small zones at a time | Stay within lift limits, keep the space unoccupied while curing |
| Whole-home retrofit or enclosed walls | Professional installation | Cavity access, product selection, and documentation all require a pro |
| New construction or major remodel | Professional installation | Coordinate lift thickness, thermal barriers, and inspection sequencing |
| Anyone with asthma or chemical sensitivity | Professional installation, or an alternative material | EPA specifically flags these individuals for extra caution |
Choosing between professional spray foam insulation installation and DIY methods comes down to scale, safety, and the cost of being wrong. Our team at Inland Northwest Spray Foam insulates homes and businesses across the Inland Northwest with trained crews, quality-controlled equipment, and clear documentation on every job. Call us at (509) 471-0006 or email [email protected] to talk through your project.
Insulation done right the first time protects your comfort, your air quality, and your budget for decades.
No. Enclosed cavities require injection-style access between studs, which handheld kits cannot provide. Filling existing walls is professional retrofit work that needs drilled access and controlled filling.
A respirator helps but is only one piece of the EPA’s guidance, which also calls for chemical-resistant gloves and clothing, work area isolation, ventilation, and careful re-entry timing. The agency notes DIY products require the same precautions professionals use, and people with asthma or respiratory allergies should consider alternatives.
It depends on the product, thickness, temperature, and curing conditions. Discuss re-entry timing with your installer before the job starts so everyone, including pets, has a safe place to relocate.
Yes. Building codes require spray foam in habitable spaces to be covered by a 15-minute thermal barrier, typically half-inch gypsum board. Some attics and crawl spaces may qualify for ignition barriers instead, depending on the approved assembly.
Closed-cell foam is the preferred choice below grade because it resists water and acts as a vapor retarder. Open-cell foam absorbs and holds moisture, which is why below-grade use is rated not acceptable for it.